
Thursday, January 17, 2013
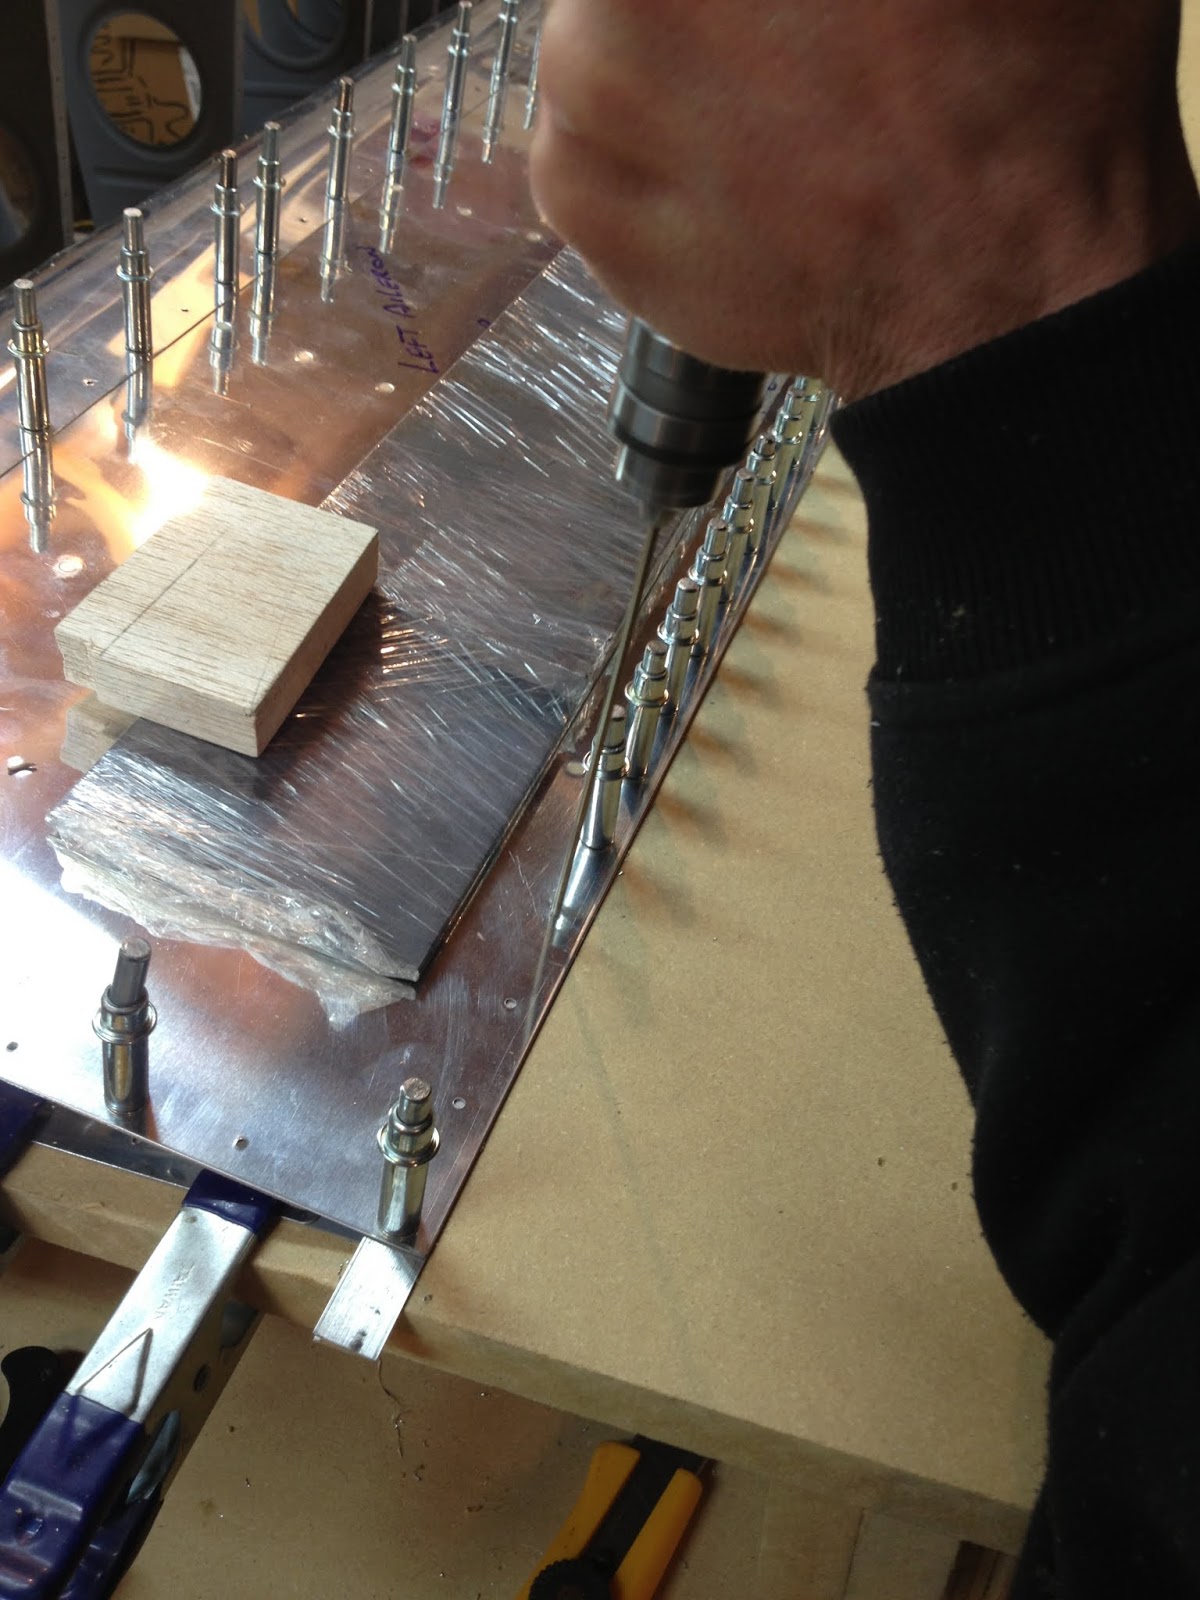
With everything on the left Aileron completely drilled and cleaned up(deburring holes and edges) I needed to counter-sink the Aileron spar. Now I've read that the depth of these can NOT be too much as the #40 clecos holding that leading edge cuff on will not adequately keep it in place. So I tested and tested on a scrap piece before I committed to the spar. I will leave the countersink cage set and do the right one as well.


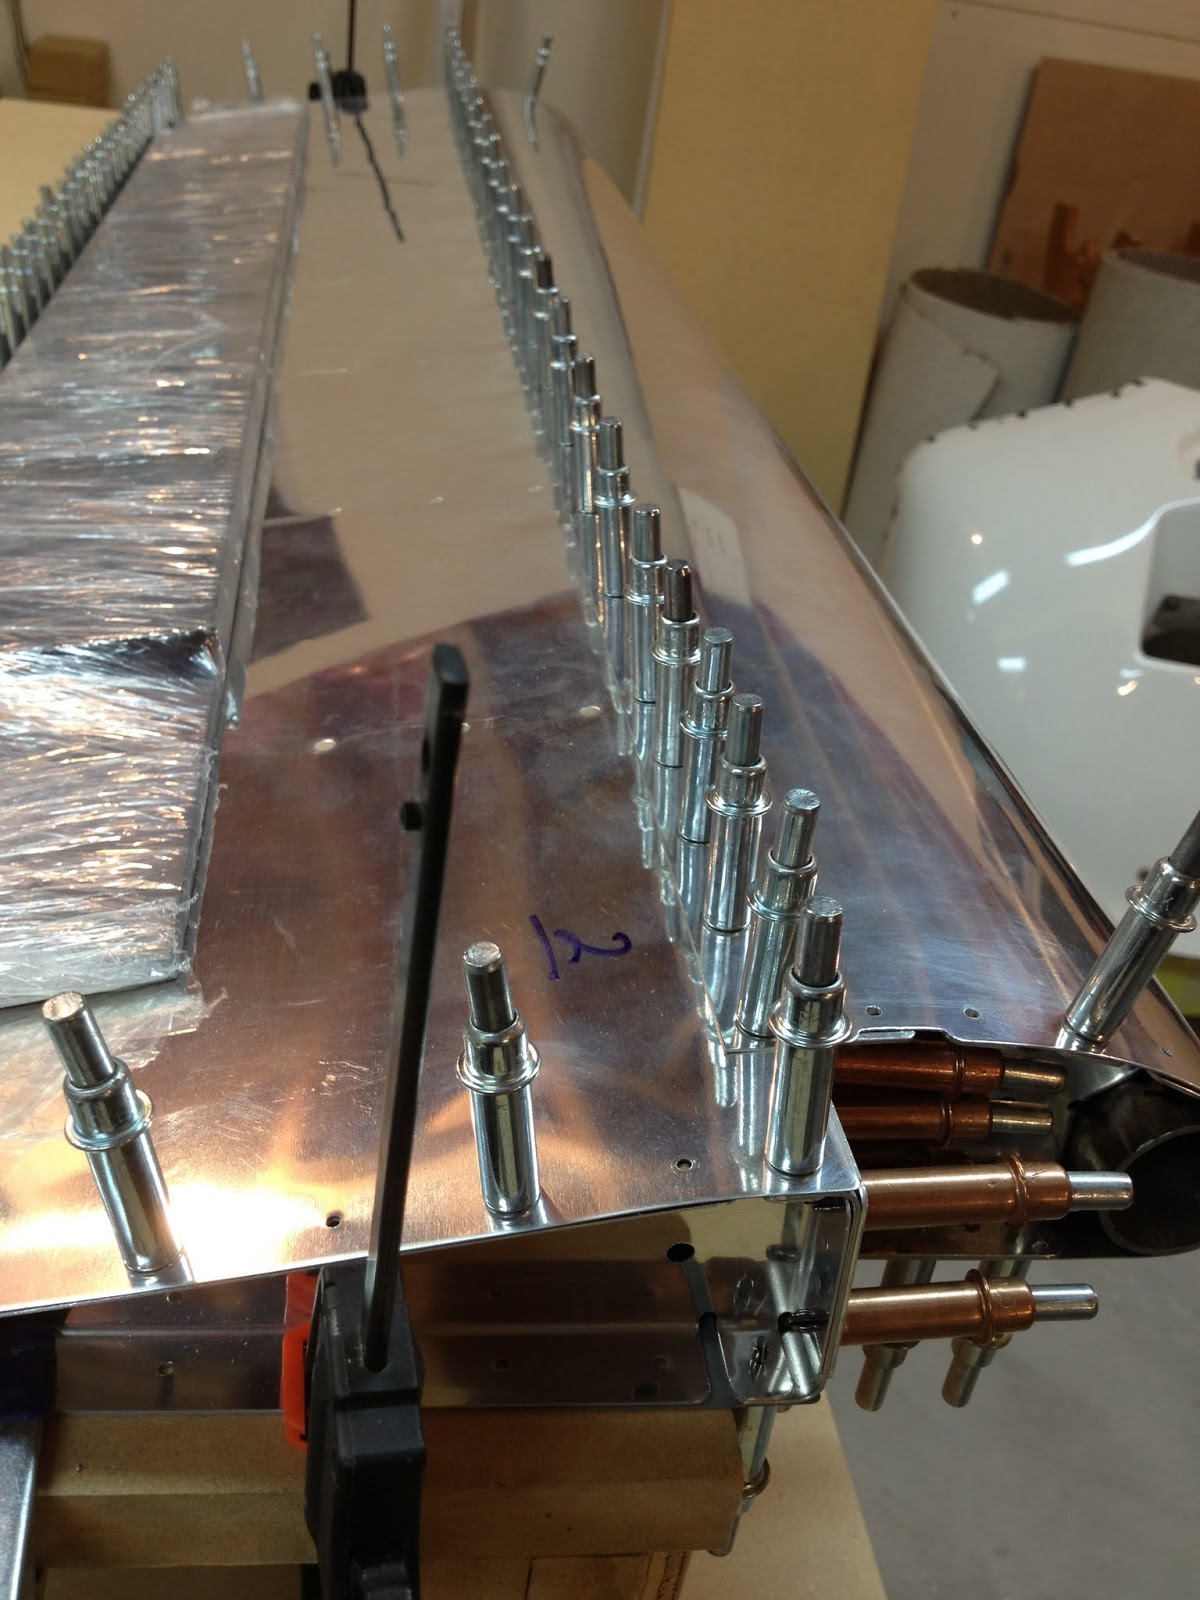
and the leading edge #30 holes drilled through the stainless pipe.

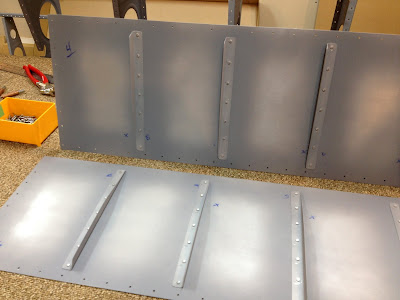
Laying out the Ailerons and diligently marking them.
then onto marking just a few Stiffeners for inside each Aileron.
after they were matched, deburred and primed it was time to back-rivet them in place.
 |
| From Pete and Tad's RV-9a Build |
 |
| From Pete and Tad's RV-9a Build |
 |
| From Pete and Tad's RV-9a Build |
 |
| From Pete and Tad's RV-9a Build |
 |
| From Pete and Tad's RV-9a Build |
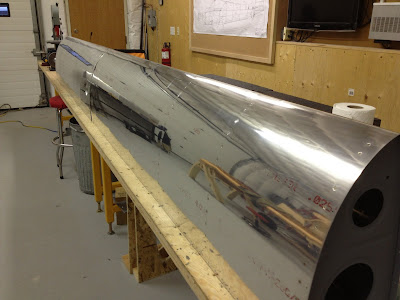
With the majority of the tanks behind us now I carried on with the Ailerons and fixing the leading edge assembly (that we put together at Tad's place) onto the Left Wing Spar.
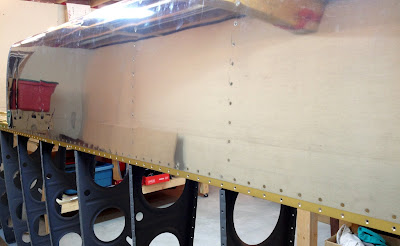
This is a pic of the fuel tank assembly together with the leading edge assembly. Each of these will get riveted to the main skeleton of the wing.
Here is the Leading Edge assembly final riveted on the Wing Skeleton. This riveting is virtually blind except for only a few... not easy to do.
 |
| From Pete and Tad's RV-9a Build |
 |
| From Pete and Tad's RV-9a Build |
Subscribe to:
Posts (Atom)