
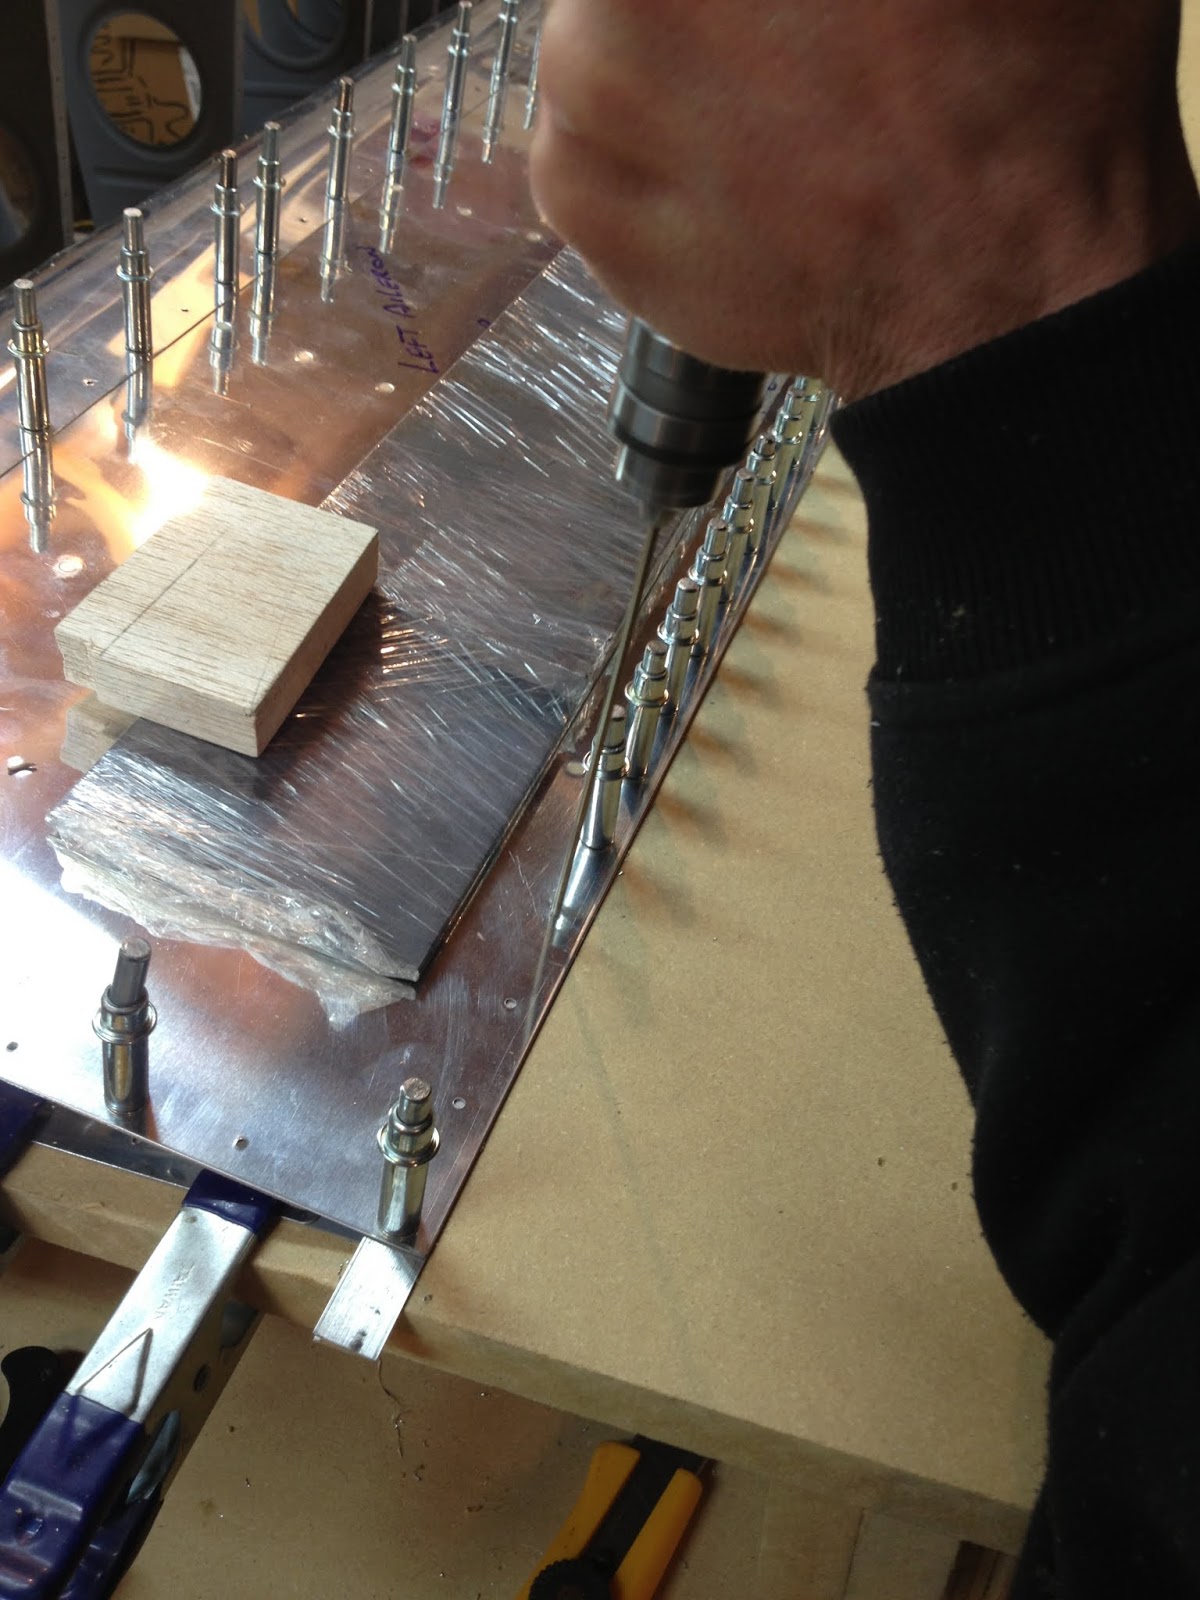
Thursday, January 17, 2013
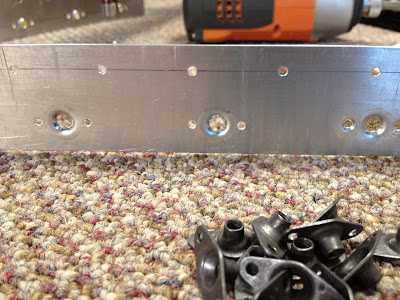
With everything on the left Aileron completely drilled and cleaned up(deburring holes and edges) I needed to counter-sink the Aileron spar. Now I've read that the depth of these can NOT be too much as the #40 clecos holding that leading edge cuff on will not adequately keep it in place. So I tested and tested on a scrap piece before I committed to the spar. I will leave the countersink cage set and do the right one as well.


and the leading edge #30 holes drilled through the stainless pipe.

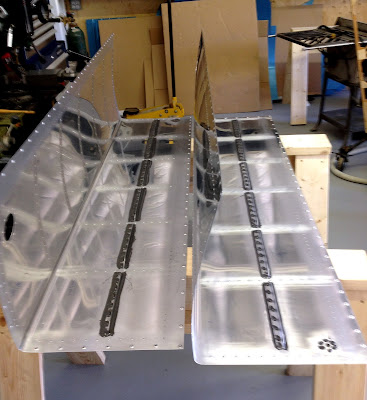
Laying out the Ailerons and diligently marking them.
then onto marking just a few Stiffeners for inside each Aileron.
after they were matched, deburred and primed it was time to back-rivet them in place.
 |
| From Pete and Tad's RV-9a Build |
 |
| From Pete and Tad's RV-9a Build |
 |
| From Pete and Tad's RV-9a Build |
 |
| From Pete and Tad's RV-9a Build |
 |
| From Pete and Tad's RV-9a Build |
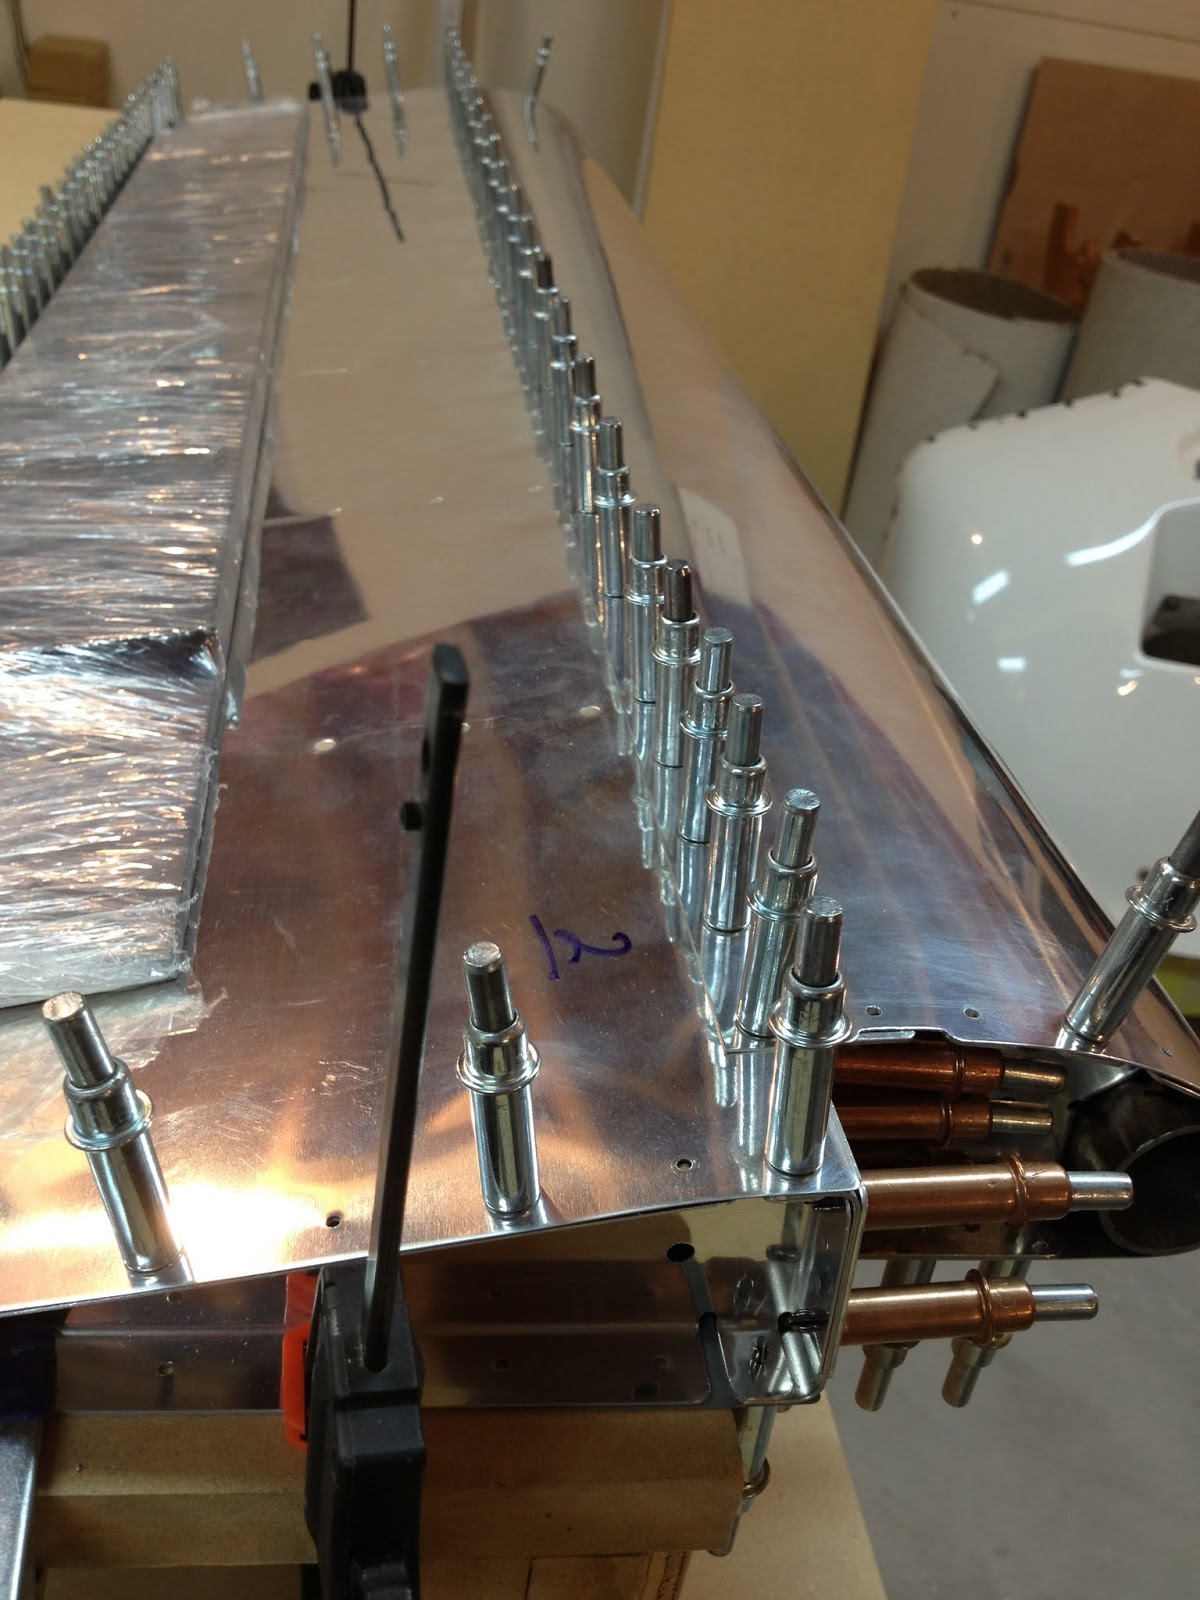
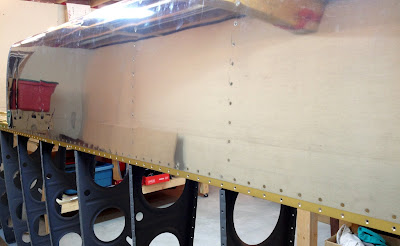
With the majority of the tanks behind us now I carried on with the Ailerons and fixing the leading edge assembly (that we put together at Tad's place) onto the Left Wing Spar.
This is a pic of the fuel tank assembly together with the leading edge assembly. Each of these will get riveted to the main skeleton of the wing.
Here is the Leading Edge assembly final riveted on the Wing Skeleton. This riveting is virtually blind except for only a few... not easy to do.
 |
| From Pete and Tad's RV-9a Build |
 |
| From Pete and Tad's RV-9a Build |
Sunday, November 4, 2012
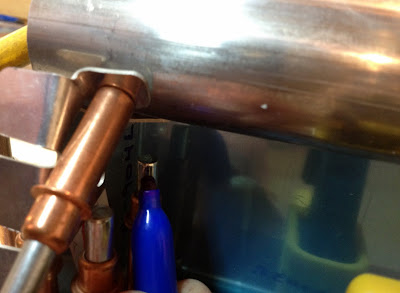
even though we aren't quite finished on the second tank(install the rear baffle) i'm onto the ailerons now. here i'm aligning all the pieces for the left aileron and drilling the stainless steel tube.
 |
| From Pete and Tad's RV-9a Build |
 |
| From Pete and Tad's RV-9a Build |
 |
| From Pete and Tad's RV-9a Build |
 |
| From Pete and Tad's RV-9a Build |
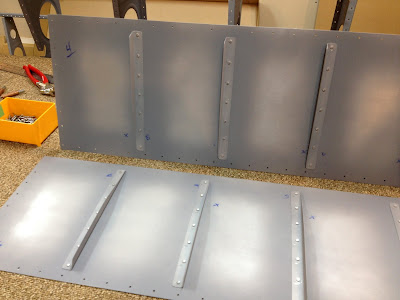
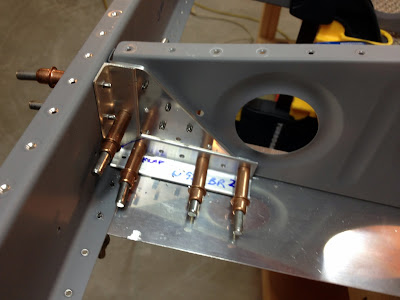
match drilling the flap brackets to the main spar and skins.
this scrap piece of aluminum i used to simulate the bottom skin so i could match drill the bracket on the bottom.
 |
| From Pete and Tad's RV-9a Build |
 |
| From Pete and Tad's RV-9a Build |
 |
| From Pete and Tad's RV-9a Build |
Saturday, November 3, 2012
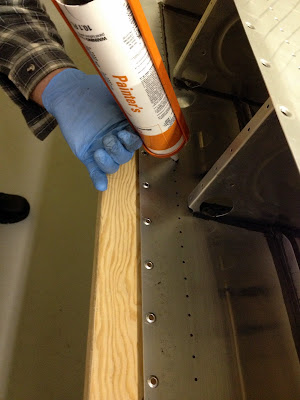
time to seal up the tank by installing the rear baffle along with the z-brackets(attachment to the main spar).
before installing the baffle we setup and prepared the van's sending units.
putting the tank assembly back into the jig, bead of proseal is applied(thanks to Tad's idea of applying this, worked better than we thought:)... just a matter of dropping in the baffle now.
 |
| From Pete and Tad's RV-9a Build |
 |
| From Pete and Tad's RV-9a Build |
 |
| From Pete and Tad's RV-9a Build |
 |
| From Pete and Tad's RV-9a Build |
 |
| From Pete and Tad's RV-9a Build |
Friday, November 2, 2012
next step in the building of the tanks was to finish the interior, fuel inlet, drain, vent and fuel pick-up.
 |
| From Pete and Tad's RV-9a Build |
 |
| From Pete and Tad's RV-9a Build |
 |
| From Pete and Tad's RV-9a Build |
Thursday, November 1, 2012
now the tanks have been drilled and prepped we moved onto riveting the ribs and stiffeners in place. there is as much prep to get the tank ready as there is to do the riveting. all surfaces where the proseal touches must be CLEAN so that is where most time is spent.
here we are partially through back-riveting the stiffeners on.
we managed to get the stiffeners done then moved onto the ribs.. doing 2 ribs on the first session then doing 3 on the next one.
method to mix proseal for the tanks
applying proseal to the ribs before inserting them into the tank skin, then each cleaned rivet is put in place and riveted.
 |
| From Pete and Tad's RV-9a Build |
 |
| From Pete and Tad's RV-9a Build |
 |
| From Pete and Tad's RV-9a Build |
 |
| From Pete and Tad's RV-9a Build |
 |
| From Pete and Tad's RV-9a Build |
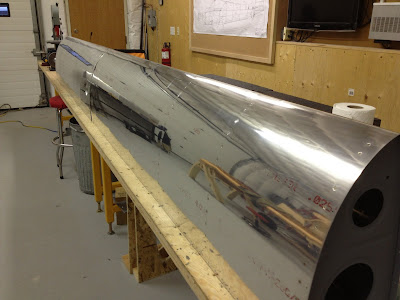
Sunday, June 3, 2012
No pics for a while but we have been working away on it. The right wing is almost to the same stage as the left now. Pro-seal or 'black death' will be happening pretty soon i think!
Making the W919 splice strip.
Dimple W919 and nutplates... used NAS rivets to attach these!
Z-brackets to attach fuel tank.
Countersinking the fuel tank skin.
 |
| From Pete and Tad's RV-9a Build |
 |
| From Pete and Tad's RV-9a Build |
 |
| From Pete and Tad's RV-9a Build |
 |
| From Pete and Tad's RV-9a Build |
 |
| From Pete and Tad's RV-9a Build |
 |
| From Pete and Tad's RV-9a Build |
 |
| From Pete and Tad's RV-9a Build |
 |
| From Pete and Tad's RV-9a Build |
 |
| From Pete and Tad's RV-9a Build |
 |
| From Pete and Tad's RV-9a Build |
 |
| From Pete and Tad's RV-9a Build |
 |
| From Pete and Tad's RV-9a Build |
 |
| From Pete and Tad's RV-9a Build |
Subscribe to:
Comments (Atom)