Thursday, March 12, 2009

Rudder Progress...

Well, we are still working on the RV... just been a little slow lately because of work mainly. Both Tad and I have been pretty busy but that is a good thing because we are raising $$$ for the next part of the project. WINGS! That will be expensive and the way the exchange is looking, it isn't getting better.
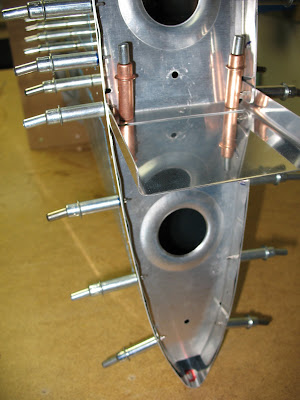
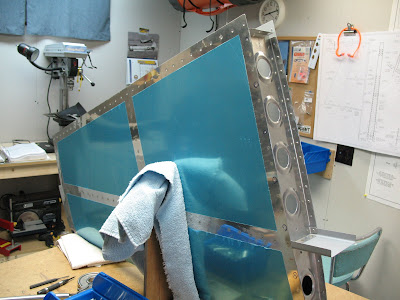
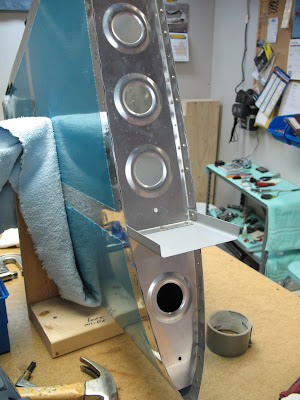
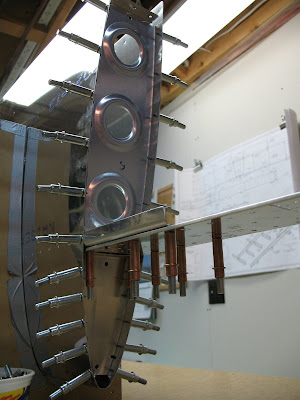
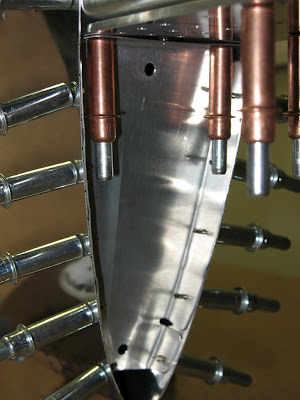
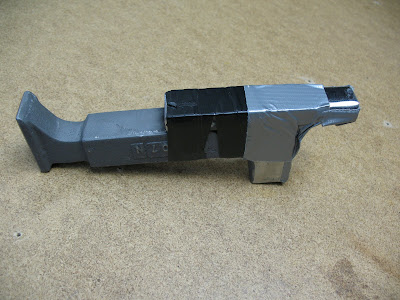
So, we have most of the Rudder ready for inspection...just have a few rivets to get right near the trailing edge of the top rib. Tad is making us a nice custom bucking bar for that.
Folks, you should see Tad's custom tooling he's done already. We had to Dimple a bigger hole for the counter-weight and didn't have one. Tad majically arrived at the next building session with a beautiful dimple die he made at his shop. I was pretty impressed with that and of course it did a perfect dimple! Way to go Tad!
A good airplane building partner is a rare thing i think.

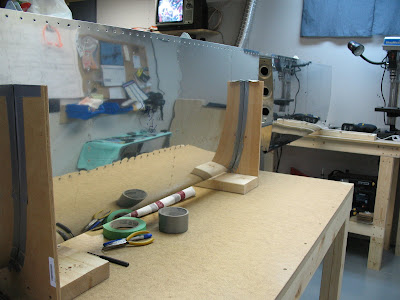
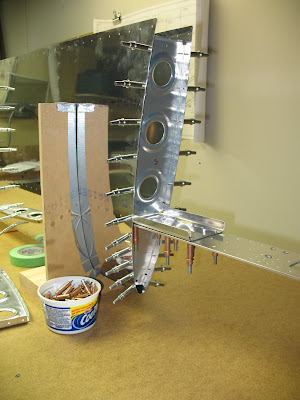
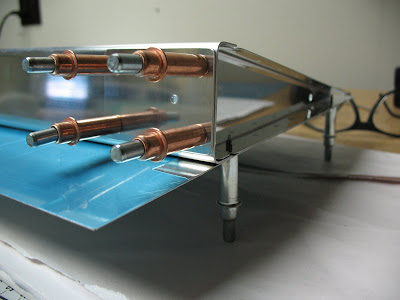
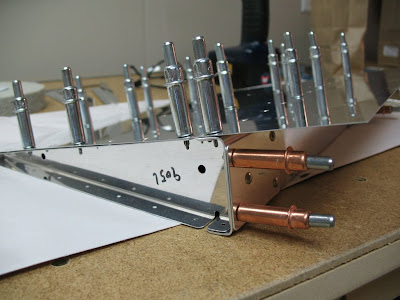
Tad made a nice Back-riveting plate...
From Pete and Tad's RV-9a Build


From Pete and Tad's RV-9a Build


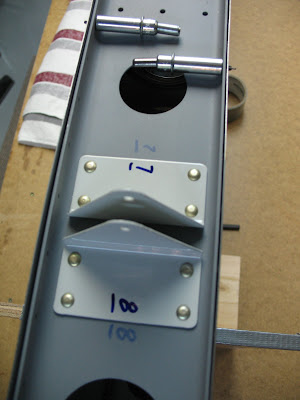
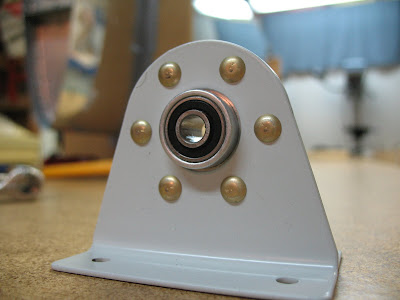
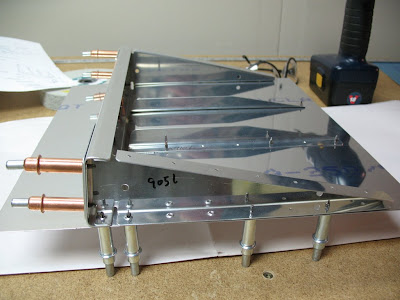
and of course our modification to reach some particularly difficult rivets!
From Pete and Tad's RV-9a Build

Wednesday, February 11, 2009

Rudder

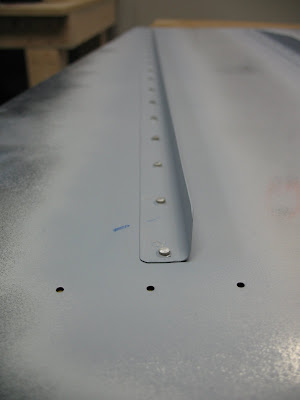
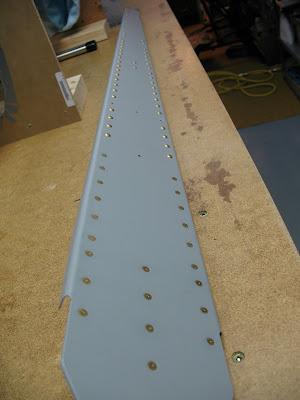
Spent the last couple of weeks, when time allowed, working on the Rudder. Tad cut and shaped all the stiffeners for the Rudder at his shop and we have match drilled those to the skins. Also, we have assembled the skeleton of the Rudder and fluted, matched drilled those. Next, is deburring the very thin skin and stiffeners and then prime and back-rivet them together.
The Rudder is going together great so far. Taking a bit more time to complete as things have been busy but i am hoping to do a bit more today and then tomorrow night.

We are up to about 68hours so far on this tail kit.

Wednesday, January 28, 2009

Vertical Stabilizer

Well we have completed the Vertical Stabilizer(at least as far as we can go for inspection reasons).
We had a couple of rivets we weren't completely satisfied with so we took those out and have replaced them. The VS went together fairly quickly...always takes lots of time to match drill, debur, prime,etc. We basically assembled the entire VS in two evening shifts. One for the Rear Spar and Skeleton and one for the skin.
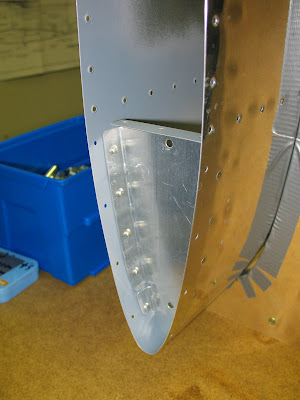
We just have two small 3.5 rivets on the Nose rib to do as we don't have a proper, ie small enough, bucking bar to reach in there.
From Pete and Tad's RV-9a Build


From Pete and Tad's RV-9a Build


Trying to protect the surfaces from scratching.
From Pete and Tad's RV-9a Build

Parts are ready for primer.
From Pete and Tad's RV-9a Build

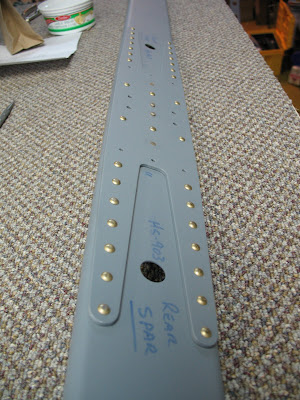
Rear spar Riveted together.
From Pete and Tad's RV-9a Build


From Pete and Tad's RV-9a Build


From Pete and Tad's RV-9a Build

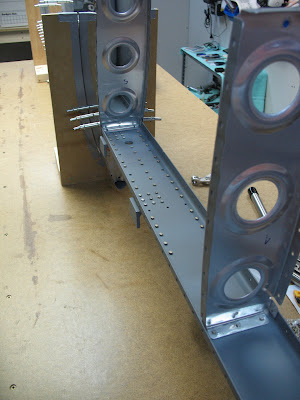
Almost finished... leaving rear spar off and will cleco it on(for inspection reasons)
From Pete and Tad's RV-9a Build

Next will be Shaping the stiffeners for the Rudder assembly! Tad will probably take those to his shop to shape them up.

Sunday, January 18, 2009

Almost finished it off...

Well, another day in the shop...
We riveted the skin to spar and ribs and almost have it all completed now. We still need to drill out the rear hinge bracket assembly and then it will be ready for inspection. The rear spar is just clecoed on for now.
From Pete and Tad's RV-9a Build


From Pete and Tad's RV-9a Build


From Pete and Tad's RV-9a Build


From Pete and Tad's RV-9a Build


From Pete and Tad's RV-9a Build


From Pete and Tad's RV-9a Build


From Pete and Tad's RV-9a Build


From Pete and Tad's RV-9a Build

I have the Vertical fin on the bench now, getting ready to match drill that and then the same process... drill, dimple, prime, rivet.

Monday, January 12, 2009

FIRST RIVETS!!!!!!!!

Well, we have made some great progress on Sunday January 11, 2009. We riveted our first rivets on the RV-9a plane today!
From Pete and Tad's RV-9a Build


From Pete and Tad's RV-9a Build

Tad did a great job on the primer work in his shop and magically arrived on Sunday morning with everything ready for assembly. he spent a couple of hours doing that work so that will be added to the log.
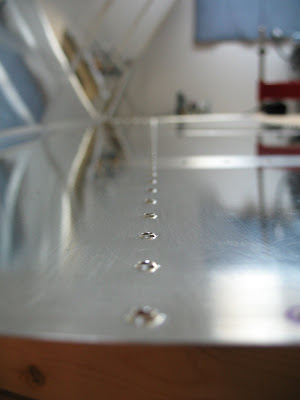
We took a bit of time to read the plans again and dial in the pneumatic squeezer i got from Isham Tools. I don't have the adjustable one so after a few washer settings we gave a shot. At first, we took our time doing them and making sure we have proper shop heads on the rivets. The really nice thing with the squeezer is once you have it set, it provides nice consistent rivets throughout. We drilled out a few(or Tad did) as we didn't get good countersinks and the factory head was slightly high. We just manually did a quick turn of the deburring tool to take it down a bit, then rivet again. Tad was good at getting them out... perfect everytime.

We got as far as assembly of the nose ribs in the skin, then clecoed in the spar and ribs. Hopefully tonight we'll finish off the riveting on the left side!!
I'll post up some pics later when i get them off the camera!

So far we are pleased with the results we are seeing after all the preparation!

From Pete and Tad's RV-9a Build

From Pete and Tad's RV-9a Build

From Pete and Tad's RV-9a Build

Thursday, January 8, 2009

Doublers

Spent some time working on countersinking the spar doublers, getting the parts ready to prime!! :)
Next will be some riveting!

Sunday, January 4, 2009

Deburring and Dimpling

It's been a while since our last posting. We have been researching the primer type and where to buy this stuff in Cranbrook. Not easy to find.
Tad came by a few days over the holidays and we got more work done on the Stablizer. Also, Tad built a new C-Frame table-top and Curtii was nice enough to give us some carpet for the top. We got both skins dimpled and pretty much ready for primer.
From Pete and Tad's RV-9a Build

Next up will be coutersinking the spar doublers and then prime the parts!
So far over the few days that Tad has come by(Dec 30 and Dec 31 both 3hrs. each), we have put in about 11 hours to be added to the overall.

From Pete and Tad's RV-9a Build

Wednesday, December 3, 2008

Continued Work on HS

Tad stopped by after work today and we got 3.5hrs in on the Horizontal Stabilizer. Now both sections have been assembled and match drilled. Need to debur and dimple and then decide on the priming we want to do.

Monday, December 1, 2008

Emp. Kit progress

Yesterday Tad and I got 7hours of work done on the tail kit. I had mostly done a lot of deburring beforehand so we only spent a couple of hours match drilling a few areas, like the forward attachment brackets (908's) and cleaning up one last rear spar. I had to leave some of it for Tad to work on after all... he's half owner in this too!!
From Pete and Tad's RV-9a Build


After all the Ribs, Spars, Doublers were match drilled and deburred Tad went to the shop to cut out the Jig Cradles for the Horizontal Stabilizer. He came back with them perfectly cut out and ready to be fastened to the workbench. We made sure everything was level and then dropped the first skin into the Jig. We managed to get all the nose ribs clekoed in and a few of the ribs. still have to cleko the skin to the spar and drop in a few more ribs. Then we'll match drill this and then debur and dimple / countersink where needed.

We are happy with the progress so far. Getting the nose ribs on the inward side was a little tricky but a small flute allowed it to drop in quite nicely. No issues so far and everything is lining-up really well.
Next build time will be tomorrow (Tuesday night) ....

From Pete and Tad's RV-9a Build


From Pete and Tad's RV-9a Build

From Pete and Tad's RV-9a Build

From Pete and Tad's RV-9a Build

From Pete and Tad's RV-9a Build

Friday, November 28, 2008

Practice Kit Work...

I worked on the Practice Kit some more from Van's and have made some good progress now that I have some the proper tools required.

I had a hard time with the countersinking on the spar and later discovered the thickness wasn't enough to use the Machined Tool for it. Too late for the one side. So I made them 4 size and continued on. On the other side of the spar i used the hand dimpling tool and then manually used the speed deburring bit to take just a little more out...testing with a 3 size as I went. It didn't need too much more after dimpling it.

So now i have the skins dimpled and 3 of the 4 skin stiffeners riveted on. It's coming together!!

I also drilled the trailing edge at the required angle of 84 degrees. Still need to counter sink the trailing edge stiffener.
From Pete and Tad's RV-9a Build

From Pete and Tad's RV-9a Build

From Pete and Tad's RV-9a Build

From Pete and Tad's RV-9a Build

From Pete and Tad's RV-9a Build