Wednesday, November 30, 2011

SafeAir Pitot Mast

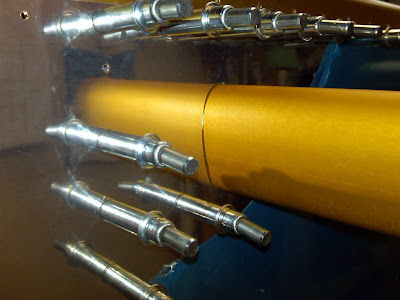
While i had the skin still on the bottom of the left wing i drilled out the Pitot Mast. i used a step drill in three places and then finished it with a small sanding drum on the Dremel.

From Pete and Tad's RV-9a Build

T905 Attach Brackets

Tad made this up from some stock angle aluminum(supplied in the kit). these attach the front nose of the tank to the fuselage.
The reason one edge is polished is because he sized them to fit approximately... i cleaned them up a bit more so they'll fit inside the nose rib flange.
You do great work Tad!
From Pete and Tad's RV-9a Build

T708 and T407 Tank Brackets

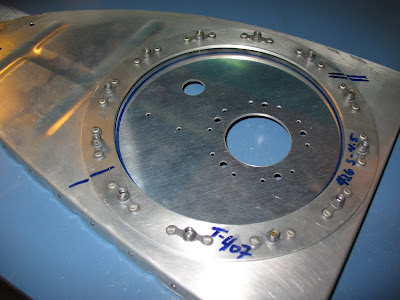
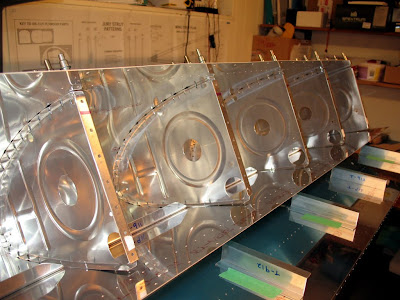
this took more time than it looks. the large hole in the rib needed to be cut out, i used Tad's aluminum nibblers and then cleaned up the edges with a sanding drum on the drill press. this worked pretty well, just time consuming. the holes for the screws and rivets in the T407 where already pre-drilled so i used those to match drill the rib... then dimpled the rib and then countersunk the T407 ring... THEN riveted nut-plates to the T407 ring. all this makes a smooth surface so it can be sealed with a 'Vans Cork Gasket' and ProSeal.
From Pete and Tad's RV-9a Build
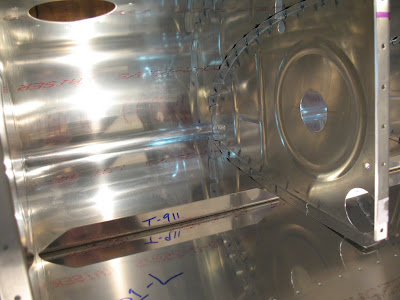
the other side ... the hole in the middle will hold the Float sending unit.
From Pete and Tad's RV-9a Build

Fuel Drain

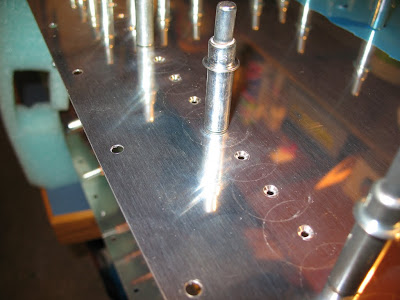
Match drilled the fuel drain.
used an old metric bolt to aid in centering the flange over the hole. used painters tape on the other side to take up the space between the skin and flange.
From Pete and Tad's RV-9a Build

Countersink Left Tank Skin

To countersink these holes in the tank skin i used the rear baffle to support the countersink bit. after testing this on numerous scrap pieces, i committed to drilling them to their final size. They all came out very consistent and just a little shallow to allow for sealant to seal properly.
rear baffle attached...
From Pete and Tad's RV-9a Build

Tank Stiffeners

Shaped and match drilled all the Left Tank Stiffeners...
From Pete and Tad's RV-9a Build

Tuesday, November 29, 2011

Wing Tanks

No formal updates on the blog for a while but have been working on the wings. All the skins on the left wing are matched drilled now. Next was the Tank assembly. This is done mostly off of the wing skeleton except for when it comes to fitting the tank attach brackets. The way Van's wants you to do them seems a bit odd to me but after a lot of double-checking i got them drilled and nut-plates installed. Making the tank jig made the process of getting the ribs into the skin much easier.

Tank Z Brackets...
From Pete and Tad's RV-9a Build

Leading Edge Splice/Doubler W919

This W919 splice piece will join the tank skin and the leading edge skins together. getting this inserted between the rib and skin was a bit tedious but manageable. it will have nut-plates installed at a later point.

From Pete and Tad's RV-9a Build

Monday, August 2, 2010

J-Stringers Left Wing

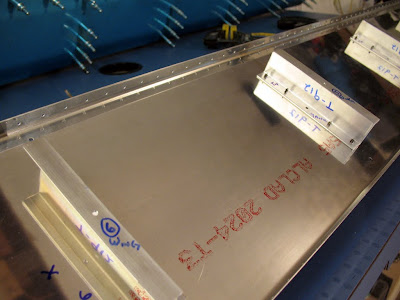
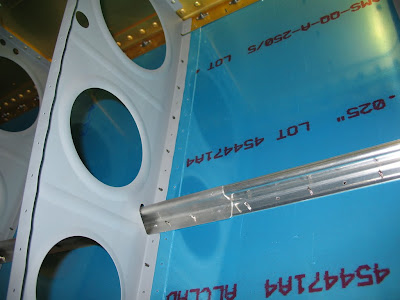
Over the last few days I've worked on the J-Stringers for the Left Wing. There are two W926a and 926b. They are different lengths and overlap in the middle section of the wing. Kinda confusing at first look because the lengths written and what the plans show are different. I also needed to change the reference line down the middle of them by about a 1/16" or so... this provided better spacing in the ribs. The J-Stringers are done now for the Left Wing so it's on to the bottom Skins now. I have run out of Clecos though so I need to wait until some more show up.

From Pete and Tad's RV-9a Build
The overlap where the two skins meet...
From Pete and Tad's RV-9a Build

Monday, May 31, 2010

Leading Edge and Inboard Skin

Got a few hours in and built up the Left wing leading edge. I've read other builders websites and knew that assembly within the constructed jig is very difficult. I opted to build on the table and work one cleco in at a time, one rib at a time.... it proved to be the best way. Trust me, I tried a few different methods.
From Pete and Tad's RV-9a Build
I also had to trim the 5th. rib so it would fit over the larger Spar rivets. Now the Leading edge assembly fits nicely.
I cut and deburred the j-stringers for the Left wing and cleaned the edges of both the inboard skin and wing-walk doubler. Vans sent us the wrong size for one of those doublers but within a week i had the new one in my hand. Good service i say!