Well, i received a call this afternoon from our MDRA inspector and he is planning to come tomorrow to do our inspection.
This is great news as he is planning on vacation for a few weeks and is managing to get us in before he leaves. That will enable us to finish off our tail section and prepare for the wings to arrive!
Next posts should be closing up the tail sections!
Thursday, July 2, 2009

Tuesday, June 16, 2009
Pre-close Inspection forms sent
Tad stopped by after work yesterday and we finished off a few small things. One was to get the hinge bracket bolted to the spar on the stabilizer and the other was to finish off a couple of tricky rivets on the trail edge of the elevator. We did those witht he 4x gun and back-riveted with a small flat plate centred over the rivet. Worked great.
So now we wait to hear from the MD-RA about when we can have it inspected. Wings are the next items to order.... oh and some pro-seal for the emp. trailing edgeds!
So now we wait to hear from the MD-RA about when we can have it inspected. Wings are the next items to order.... oh and some pro-seal for the emp. trailing edgeds!
Thursday, June 11, 2009
Finishing the Elevator(Before inspection that is!)
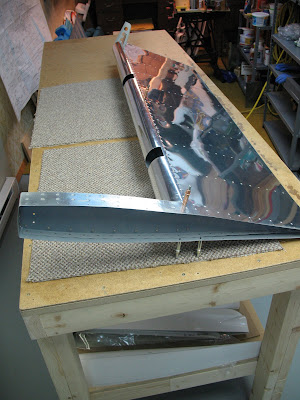
Well, we are almost completely finished with the tail kit for now. We riveted the other side of our hinge for the trim-tab on to the elevator and finished off the rivets on the elevator's top side.
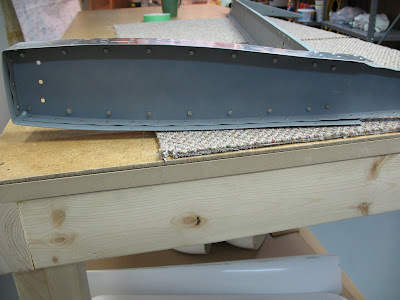
A couple of small things to do before we book our inspection. Two rivets on the trail-edge of the elevator and install the hinge bearing bracket on the stabilizer and torqued to proper spec.
Also called Van's about getting our wing kit on the way. It's 25% down at time of order so i think we'll be doing that in the next week or so. They say it can take 6-8 weeks to get it crated and shipped. We'll have ours shipped to Montana and then drive down to pick it up. It's going to be a fun winter!!
A couple of small things to do before we book our inspection. Two rivets on the trail-edge of the elevator and install the hinge bearing bracket on the stabilizer and torqued to proper spec.
Also called Van's about getting our wing kit on the way. It's 25% down at time of order so i think we'll be doing that in the next week or so. They say it can take 6-8 weeks to get it crated and shipped. We'll have ours shipped to Montana and then drive down to pick it up. It's going to be a fun winter!!
Monday, June 8, 2009
Finishing the Trim Tab
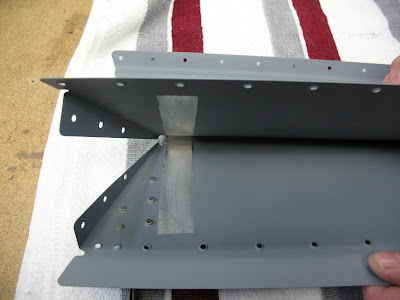
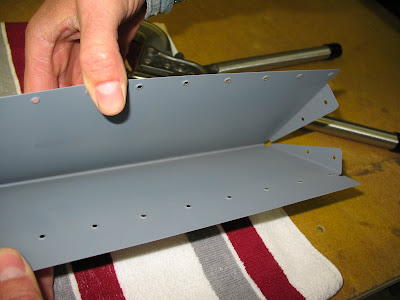
On Sunday Tad and I worked on finishing the trim tab assembly. First we riveted the control horn and the bottom of the leading edge. We ended up back-riveting those difficult rivets as we don't have a longeron yoke and using the bucking bar and riveting on such a small piece would have proven difficult. In the end it produced some excellent, very consistent rivets.
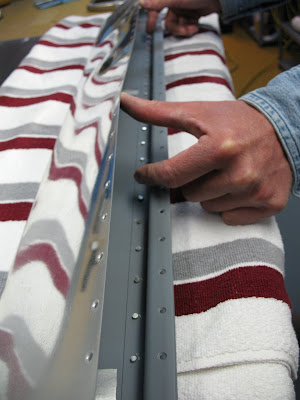
Next was to dimple the end tabs for the CS4-4 rivets and drill, debur and prime the hinge. Getting all prepared before we used proseal to fasten the foam ribs inside. To finally close up the trim tab we used the pneumatic squeezer and some patience to set them. At first we used the hand squeezer but found it difficult to use. We drilled those couple out and reset them with the pneumatic.
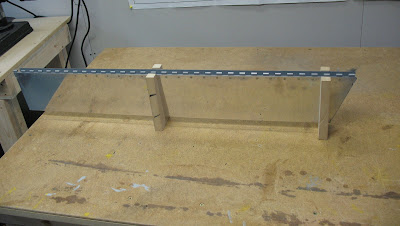
Then we put the assembled trim tab in the v-block clamps... Done!
Next we'll need to drill the mating hinge on the elevator.
Next was to dimple the end tabs for the CS4-4 rivets and drill, debur and prime the hinge. Getting all prepared before we used proseal to fasten the foam ribs inside. To finally close up the trim tab we used the pneumatic squeezer and some patience to set them. At first we used the hand squeezer but found it difficult to use. We drilled those couple out and reset them with the pneumatic.
Then we put the assembled trim tab in the v-block clamps... Done!
Next we'll need to drill the mating hinge on the elevator.
 |
| From Pete and Tad's RV-9a Build |
 |
| From Pete and Tad's RV-9a Build |
 |
| From Pete and Tad's RV-9a Build |
 |
| From Pete and Tad's RV-9a Build |
 |
| From Pete and Tad's RV-9a Build |
 |
| From Pete and Tad's RV-9a Build |
Saturday, June 6, 2009
Trim Tab
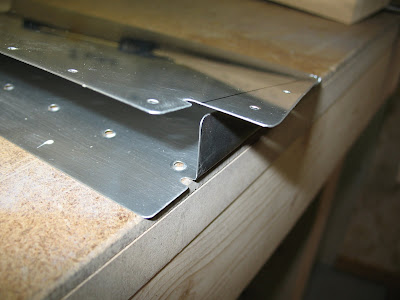
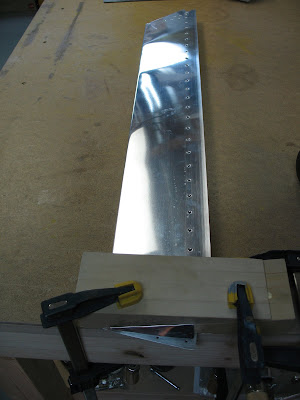
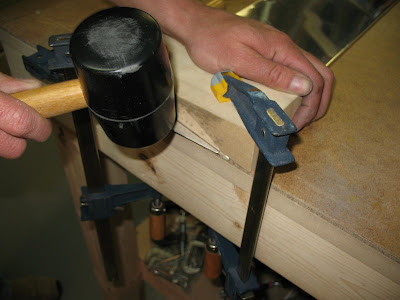
Tad was able to stop by last evening and we got most of the trim tab ready for riveting. Tad built the bending break so we could complete the bend of the trim tab itself. This turned out pretty good and we just did a little at a time to make sure not to over do it. After fussing with it for a bit it turned out really good. We were both pretty happy with it.
Next was to bend the tab at either ends. We tried it first on a sample piece to gauge the bend on it and decided to sand the bending blocks a little to ease the radius a bit. Tad did the honours of slowly bending the tab down. We continued match drilling the tab and finished off by countersinking the holes where the hinge will go on the spar. The bottom of that spar has dimples that mate up with the skin.
Tad has taken the parts and will prime them... next will be drilling the hinge and riveting it together.
Next was to bend the tab at either ends. We tried it first on a sample piece to gauge the bend on it and decided to sand the bending blocks a little to ease the radius a bit. Tad did the honours of slowly bending the tab down. We continued match drilling the tab and finished off by countersinking the holes where the hinge will go on the spar. The bottom of that spar has dimples that mate up with the skin.
Tad has taken the parts and will prime them... next will be drilling the hinge and riveting it together.
 |
| From Pete and Tad's RV-9a Build |
 |
| From Pete and Tad's RV-9a Build |
 |
| From Pete and Tad's RV-9a Build |
 |
| From Pete and Tad's RV-9a Build |
Sunday, May 31, 2009
Left Elevator Part II
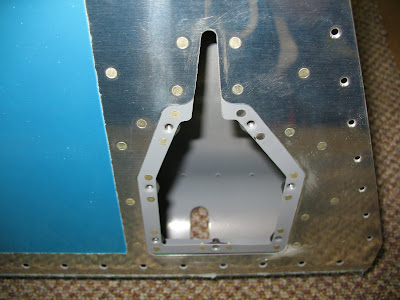
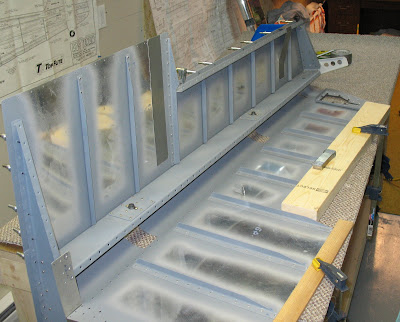
Tad and I were able to get some work done on the Left Elevator Thursday and today(Sunday). After Thursday's work session Tad took the parts home to prime and that is where we started today. Assembled the main skeleton section, minus the rear spar(trim tab) and riveted all the stiffeners to the skin. We also countersunk the rear spar where the hinge will go for the trim tab.
So, the next session will be installing the skeleton into the skin of the elevator and then working on the trim tab.
We are nearing the end of the pre-inspection work. Soon we'll have it inspected and finish off the emp. by closing all the sections.
Then the wings will be next!
So, the next session will be installing the skeleton into the skin of the elevator and then working on the trim tab.
We are nearing the end of the pre-inspection work. Soon we'll have it inspected and finish off the emp. by closing all the sections.
Then the wings will be next!
 |
| From Pete and Tad's RV-9a Build |
 |
| From Pete and Tad's RV-9a Build |
 |
| From Pete and Tad's RV-9a Build |
 |
| From Pete and Tad's RV-9a Build |
 |
| From Pete and Tad's RV-9a Build |
Monday, May 11, 2009
Left Elevator
Tad came by today to work on the Left Elevator for a while. About 4hours work. All parts are almost ready for primer. Still need to counter sink the T.E. Spar where the hinge attaches to the trim tab and match drill the bottom stiffeners to the skin. We have a few extra stiffeners coming as a few were cut short... neither one of us are sure why, how that happened. Anyway, we'll probably work on the T.E. Spar and the Trim tab this week, hopefully!
Monday, April 20, 2009
Elevator work continued...
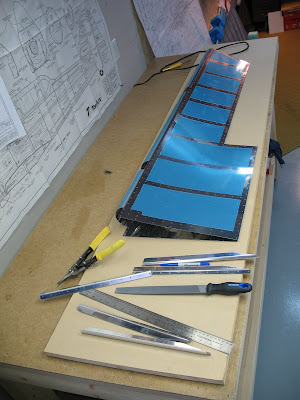
Well, we had another good productive day working on the RV 9 Elevators. Last work session left the Right Elevator ready for riveting to the spar and Ribs. We ended up using a small Tungsten bar and that really did a great job. Tad has a pretty good eye for using those bucking bars now so I continued doing the Rivet gun side. It really wasn't as bad as we were anticipating it to be. Just took our time and within an hour it was done. Even manged to buck the "problem rivet" on the counter-weight skin without too much problem.
So, it is ready for inspection now and we started on the Left Elevator. Match drilled the shaped stiffeners and then deburred most of the pieces. The stiffeners are dimpled as well. We'll probably get the spar and everything else matched drilled and then send them off to Tad's workshop to have them primed.
This Elevator has the Trim-tab on it though so it will involve a little more work to finish.
So, it is ready for inspection now and we started on the Left Elevator. Match drilled the shaped stiffeners and then deburred most of the pieces. The stiffeners are dimpled as well. We'll probably get the spar and everything else matched drilled and then send them off to Tad's workshop to have them primed.
This Elevator has the Trim-tab on it though so it will involve a little more work to finish.
 |
| From Pete and Tad's RV-9a Build |
Monday, April 13, 2009
Continue Right Elevator
We've had 2 good work days only in the last little while but have most of the right elevator ready to be riveted to the spar.
Yesterday we did all the rivets for the spar, skin stiffeners, nut-plates,etc. The out-board rib to spar rivets gave us some grief. They just wouldn't set straight. So we fussed with that for over an hour i think. So basically we have the Skeleton together and is ready for the skin. We decided to stop there and tackle riveting the skin on a fresh day. We've read and heard it can be tricky to do... or maybe just time consuming as it will be tough to get in there to buck the rivets. We'll see.
Of course in Canada we have pre-close inspections so we'll go as far as possible but all trailing edges will be left open. I hope by mid-may we'll be ready for those inspections and then we'll be over one hurdle.
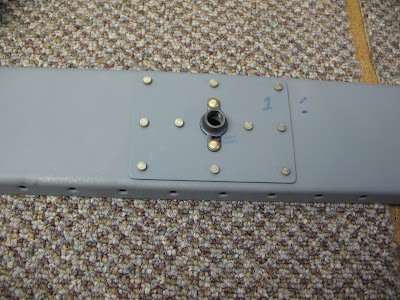
Right Elevator Spar - Nut-plates riveted on.
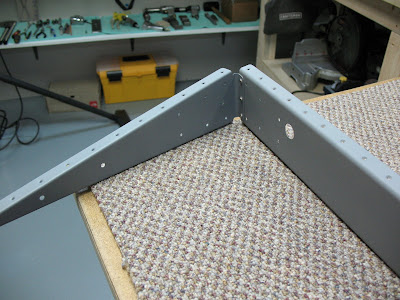
Right Elevator Inward Rib - Flush rivets used as control horn covers this.
Yesterday we did all the rivets for the spar, skin stiffeners, nut-plates,etc. The out-board rib to spar rivets gave us some grief. They just wouldn't set straight. So we fussed with that for over an hour i think. So basically we have the Skeleton together and is ready for the skin. We decided to stop there and tackle riveting the skin on a fresh day. We've read and heard it can be tricky to do... or maybe just time consuming as it will be tough to get in there to buck the rivets. We'll see.
Of course in Canada we have pre-close inspections so we'll go as far as possible but all trailing edges will be left open. I hope by mid-may we'll be ready for those inspections and then we'll be over one hurdle.
Right Elevator Spar - Nut-plates riveted on.
 |
| From Pete and Tad's RV-9a Build |
Right Elevator Inward Rib - Flush rivets used as control horn covers this.
 |
| From Pete and Tad's RV-9a Build |
 |
| From Pete and Tad's RV-9a Build |
 |
| From Pete and Tad's RV-9a Build |
 |
| From Pete and Tad's RV-9a Build |
 |
| From Pete and Tad's RV-9a Build |
 |
| From Pete and Tad's RV-9a Build |
Monday, March 16, 2009
Elevator, Day 1
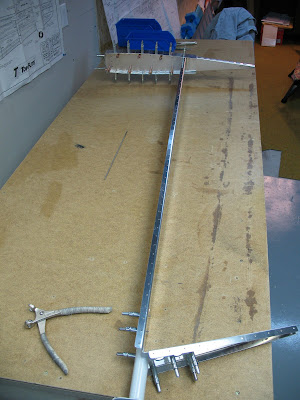
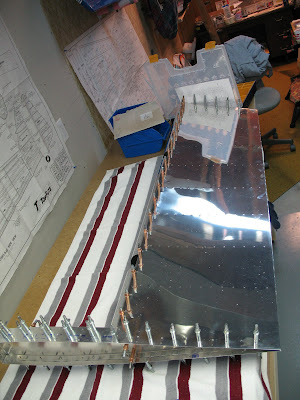
Yesterday, we started on the Elevators. Cutting the stiffeners to size and then match drilling to the Skin. Having two people do this was much easier as the skins for both the top and bottom are one and already formed to shape. We used a bit of tape to assist holding open one side of it then we drilled directly into the board underneath and this held down the opposite side to the table. It worked out pretty well and didn't take too much time at all.
Tad also deburred all the edges of the Right skin while I was cutting out the stiffeners and cleaning up one end of them.
We also matched-drilled the nut-plate reinforcements E910 on the spar and match drilled the counter-balance skins/ribs. Tad did the Fluting on those ribs and got them nice and straight.
Tad has taken the stiffeners to sheer the angle on the one end. They still need to be deburred and primed.
Next we'll do some match drilling of the spar to the skin.
Tad also deburred all the edges of the Right skin while I was cutting out the stiffeners and cleaning up one end of them.
We also matched-drilled the nut-plate reinforcements E910 on the spar and match drilled the counter-balance skins/ribs. Tad did the Fluting on those ribs and got them nice and straight.
Tad has taken the stiffeners to sheer the angle on the one end. They still need to be deburred and primed.
Next we'll do some match drilling of the spar to the skin.
 |
| From Pete and Tad's RV-9a Build |
 |
| From Pete and Tad's RV-9a Build |
 |
| From Pete and Tad's RV-9a Build |
 |
| From Pete and Tad's RV-9a Build |
Subscribe to:
Posts (Atom)