Friday, May 21, 2010

Right Wing Assembly

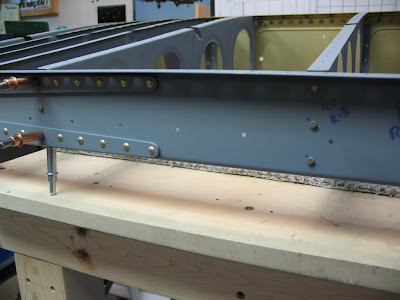
Tackled the right wing assembly on Wednesday and riveted all the main ribs to the forward spar. It didn't take too long with both Tad and I working on it. We left the rear spar and i finished that last night. So, the skeleton is together now for both wings!
From Pete and Tad's RV-9a Build
Unfortunately the wing walk doublers which are .025 thickness skins and about 26" long are NOT the same length so i have a new one coming from Vans. One of them is 25 3/8" and the other is 26". 26" is the correct length. We can work on the leading edge ribs and skins and at least do the left wing walk doubler.
From Pete and Tad's RV-9a Build
Tad is making the leading edge jig to make assembly much easier.

Wednesday, April 7, 2010

Progress...Wing Jig/Stand

The last few days I've been working on getting the Wing Jig together and figuring out how it's going to fit in the room WITH the work table!
We are hoping to build both wings simultaneously and the jig or stand will help with this. With the pre-punched wings jigs aren't really needed but do make things easier and it's always good to check to ensure there isn't any twist in either of the wings while building.
The Right Wing Ribs are at Tad's place now getting their primer coat applied. I'm sure we'll be riveting that together in the next few days.

Monday, March 29, 2010

Right Wing Ribs

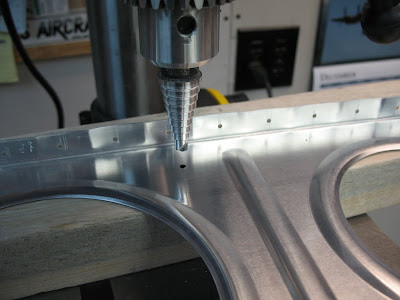
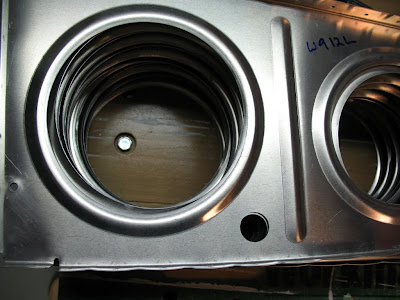
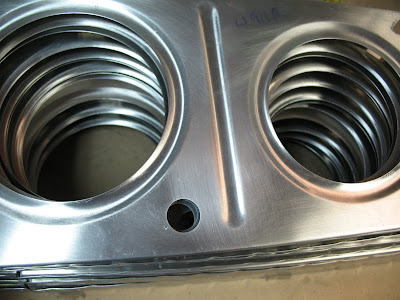
Spent some time drilling out the Conduit holes for the Right Wing Ribs. Same basic procedure as the Left. Match drill a #30 on all Ribs and then enlarge them on the drill press to 3/4" with the step drill.
Will need to match drill them to the Spar and then ship them off to Tad's place for primer!
From Pete and Tad's RV-9a Build

Monday, March 15, 2010

Left Wing Ribs Riveted

Tad and I got the Left Wing ribs riveted onto the both front and rear spars. We left the outboard most rib off as per the instructions.
We had a couple of rivets we weren't happy with but they were fairly painless to remove. just time consuming really.
We used the 4x gun and reduced the pressure to around 50psi i believe. That gave Tad a bit more control of the impact. anything higher and they seemed to set too fast, either they were under or they would be over with only one hit.
The Rear Spar was easy to do with the pneumatic squeezer and only had one that didn't squeeze straight - the very first one we did. It was more from the inability to see the rivet properly but flipping over the wing allowed much better control of it.
Oh, one last thing, we ended up drilling out one of the tooling holes just in case we decide to install a AOA device later on in the build. I think it was a good idea to do that.
From Pete and Tad's RV-9a Build

Monday, March 8, 2010

Nose Ribs - Deburring

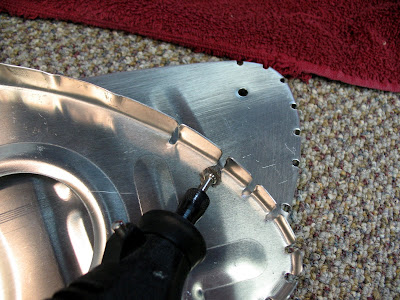
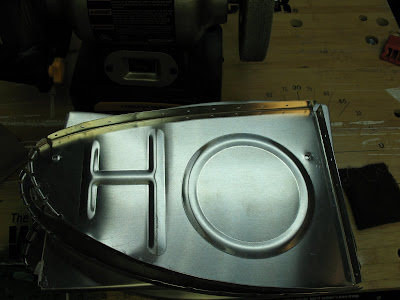
Modified an old Scotchbrite die-grinder wheel and made it so it will work on the Dremel. That way it can be shaped a lot smaller to get into those tough places to knock off any rough edges.
Works pretty well so far.
Anyway, got about half-dozen or so done. I use the main wheel for the primary edges and then use the dremel.

From Pete and Tad's RV-9a Build

From Pete and Tad's RV-9a Build

Friday, March 5, 2010

Conduit Holes, Nose Ribs

I have been trying to get more time in on the RV and have found the mornings, before work, to be the best. Still work on it during evening though, try to leave that to the mundane work. Being tired and trying to decide what the plans call for aren't a good mix.
Anyway, I drilled out the Conduit holes to 3/4" for the Left Wing. Tad still has the Right Wing ribs so i'll do those when he is done. These Ribs are ready for primer now so Tad will tackle that this weekend.
So it's time to do some more deburring. This time onto the Nose Ribs!
From Pete and Tad's RV-9a Build

Wednesday, March 3, 2010

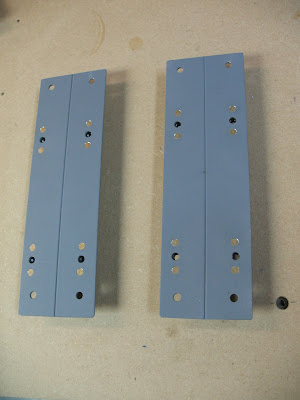
Riveted Tie-Downs

Spent some time this morning getting these done. Tad dropped them by after priming them. i actually shot a bit of primer on the flush-side as well after setting the rivets.... they're ready for assembly on the wing spars.

From Pete and Tad's RV-9a Build


From Pete and Tad's RV-9a Build

Tuesday, March 2, 2010

More plates attached...

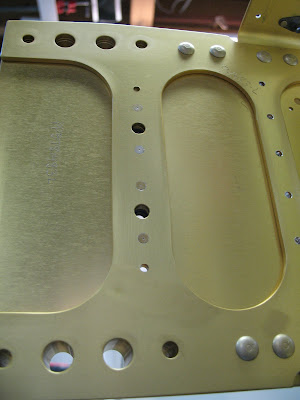
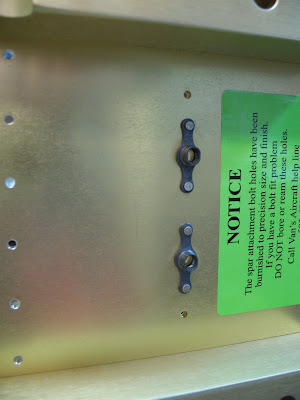
Riveted these K1000-4 Nut-Plates onto both wings. They needed countersinking on the aft side of the spar for the 426 rivets.
From Pete and Tad's RV-9a Build

From Pete and Tad's RV-9a Build

Monday, March 1, 2010

our backyard!

From Pete and Tad's RV-9a Build

Richmond Lake... Looking West from the Citabria!
From Pete and Tad's RV-9a Build

Sunday, February 28, 2010

Match Drill - Both F/R Wing Spars

Got some flights in this weekend as well as some RV building. While Tad is working on the Right Wing rib prep work and priming the tie-down pieces, I matched drilled all the holes in the Ribs for the left wing to both Front and Rear Spars.
It went pretty smoothly and all the holes lined up better than I remember from the last trial-fit. Anyway, that is done now.
Need to clean up the holes for the Pitot tube grommets and then drill the Conduit Holes for each rib. I'll probably measure out one and then cleco each one to the master and just match drill it with a smaller drill size. Then I will go back with the Step Drill and enlarge them.