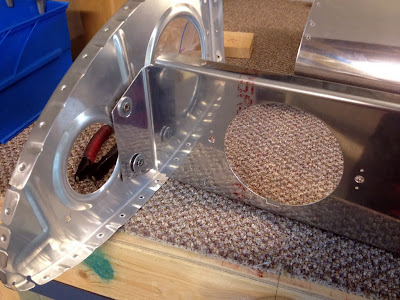
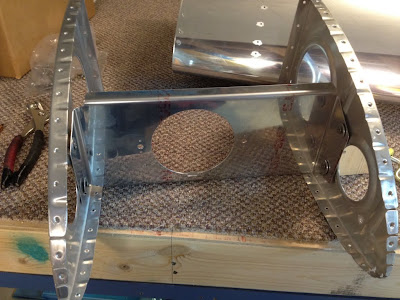
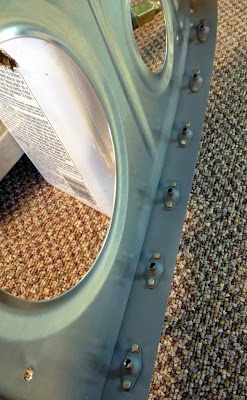
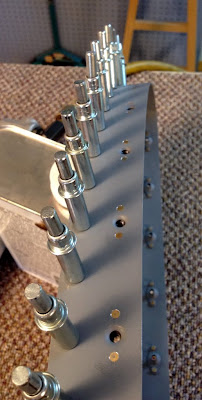
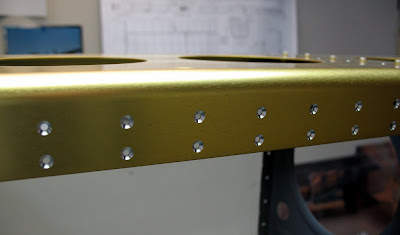
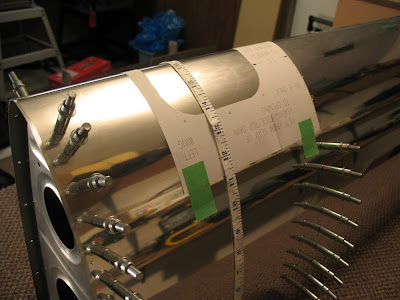
Now work on the fuselage begins! lots of little parts to mate up with the stainless firewall.
There are some small holes in the firewall recess that will need to be filled with proseal but that can be done when the engine is mounted and all the other holes get sealed.
Wednesday, February 29, 2012
Wednesday, January 25, 2012
Right Wing Skins Prep
Well after a rather long delay on the true building of the RV due to moving houses, tools, getting the old place ready for tenants, I'm back at it.
Matched the Wing Doubler W927 to the W902 Inboard Top Skin first and then clecoed it all to the wing structure along with the W903 outboard top skin(overlapping the inboard skin). I managed to get at least half the holes drilled and marked(so i know what's been drilled to a #40).
Wing Doubler before going onto the structure
Wing Doubler sitting approx 9/16" behind the top skin just clearing the front spar
Cleco Skins
Drilled #40 holes and marked
Matched the Wing Doubler W927 to the W902 Inboard Top Skin first and then clecoed it all to the wing structure along with the W903 outboard top skin(overlapping the inboard skin). I managed to get at least half the holes drilled and marked(so i know what's been drilled to a #40).
Wing Doubler before going onto the structure
| From Pete and Tad's RV-9a Build |
| From Pete and Tad's RV-9a Build |
| From Pete and Tad's RV-9a Build |
| From Pete and Tad's RV-9a Build |
| From Pete and Tad's RV-9a Build |
Friday, December 30, 2011
DuckWorks Bracket
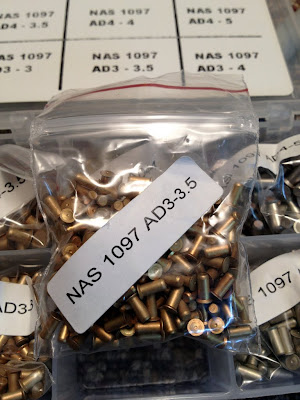
After cutting the bracket to the correct length and cleaning up all the edges I managed to get the K1000 nut-plates installed. I used the NAS1097 rivets again for this and light countersunk the inner ribs for the factory head.
| From Pete and Tad's RV-9a Build |
| From Pete and Tad's RV-9a Build |
| From Pete and Tad's RV-9a Build |
| From Pete and Tad's RV-9a Build |
Left Wing Landing Light
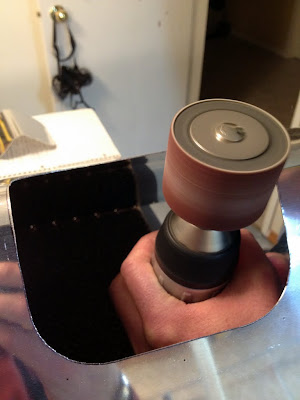
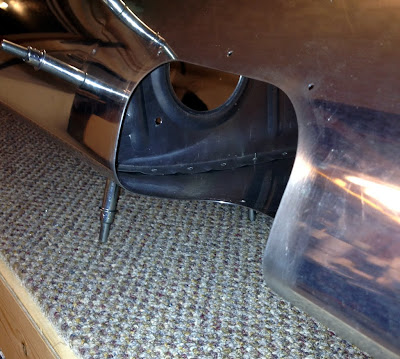
Tad and I managed to get the landing light marked and cut-out of the leading edge skin. We used the sanding drum to smooth out the radius and knock down any high spots, used a straight file to take the waves out, then a bit of scotchbrite by hand and then on the die-grinder to make it very smooth.
| From Pete and Tad's RV-9a Build |
| From Pete and Tad's RV-9a Build |
| From Pete and Tad's RV-9a Build |
W919
Finished getting all the nut-plates on the W919 Attach piece. Using NAS1097 rivets of course!
| From Pete and Tad's RV-9a Build |
| From Pete and Tad's RV-9a Build |
Friday, December 23, 2011
Prepare the W919 Attach Strip
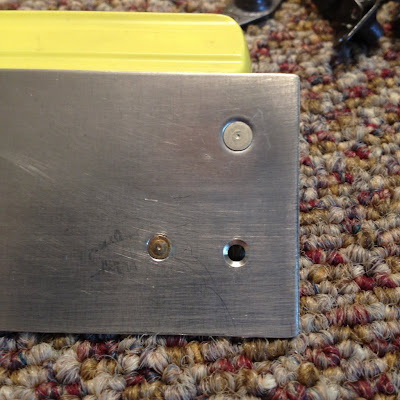
I drilled the screw holes out to #19 size after getting the nut-plates #40 holes drilled. Deburred all the holes then dimpled just the #19 with a #8 die for the screws. I was still undecided on the method of installed the AD426 rivet... either Dimple or Countersink the W919 strip. After doing some reading i'm going with the NAS1097 shear rivet which is actually the preferred method. Using these rivets i will just need to do some light countersinking of the W919 piece and nothing to the nut-plate! The reason i can do this is because the NAS1097 rivet has a much lower profile head and the W919 is thick enough to allow a relatively small countersink.
Test material, notice the smaller head on the bottom left rivet. The Shank diameter of both of these rivets are the same.
| From Pete and Tad's RV-9a Build |
| From Pete and Tad's RV-9a Build |
Wednesday, December 14, 2011
Countersink #40 on Main Spar Left Wing
Tad stopped by on Monday to help finish off all the Left Wing skins. Also drilled the nut-plates onto the W-919 splice strip that connects the leading edge skin to the fuel tank skin. We also spent some time lightly countersinking(after dimpling) the rear spar on both sides to allow the dimples in the skin to fit better.
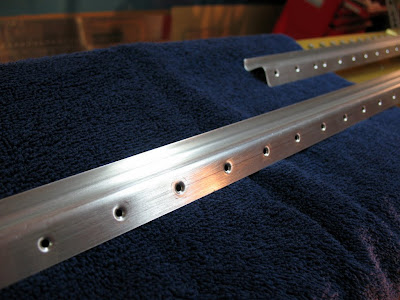
Over the last couple of days I've spent a couple of hours countersinking the #40 holes on the main spar to accept the skin dimples. With the main spar being a lot thicker than the rear spar there was no dimpling necessary... just full countersinks with the micro-stop on the drill.
They are all done now:)
Over the last couple of days I've spent a couple of hours countersinking the #40 holes on the main spar to accept the skin dimples. With the main spar being a lot thicker than the rear spar there was no dimpling necessary... just full countersinks with the micro-stop on the drill.
They are all done now:)
| From Pete and Tad's RV-9a Build |
Tuesday, December 6, 2011
Rear Spar and J-Stringers
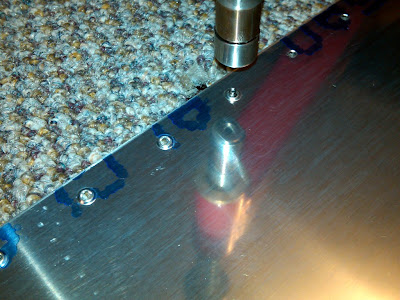
All the J-stringers are dimpled now for the left wing. I also finished deburring the rear spar and started in on dimpling them with the squeezer.
| From Pete and Tad's RV-9a Build |
| From Pete and Tad's RV-9a Build |
| From Pete and Tad's RV-9a Build |
Dimple Left Wing Skins
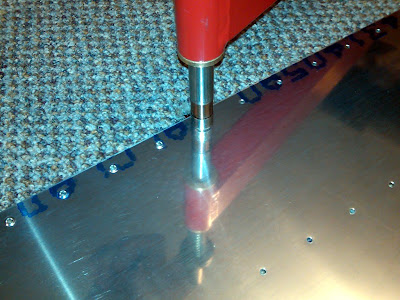
Continued working on the left wings skins. Tad and I did all the top skins last week and the wing walk doubler. I finished the bottom inner wing skin last night... the only one left is the main bottom skin. I'll wait for Tad's help on that one.
After these skins are dimpled the plan is to prepare the rear spar with dimples and prepare the front spar with countersinks. These will then accept the dimples we just put into the skins and once riveted will lock everything in place. Not only is the dimpling/countersinking producing a flush surface but it also make a stronger bond.
![]() |
| From Pete and Tad's RV-9a Build |
![]() |
| From Pete and Tad's RV-9a Build |
Wednesday, November 30, 2011
DuckWorks
Started work on the landing light that will go in the outboard edge of the left wing. Haven't cut any metal yet, just getting the template cut-out, brackets polished,etc.
The actual mount that holds the light will have to be cut, shortened and riveted back together to fit the RV9 model of wing. Out of the box it will fit the RV7 and RV8 wings.
| From Pete and Tad's RV-9a Build |
Subscribe to:
Posts (Atom)